HI All,
I thought you would like to see my camper trailer project as it folds out over time. I will keep this updated every time I move forward with the project.
I looked around for a camper and having owned one already realized it had issues, mostly the time it took to setup was too long and too complex for our style of touring. (We like to travel and dont stay in one place for long) I also love offroad and most trailers I looked at are really not designed for off-road even though they say it. So this trailer will be over the top, over engineered, probably too heavy but will go anywhere and last. Plus above all is design for quick setup.
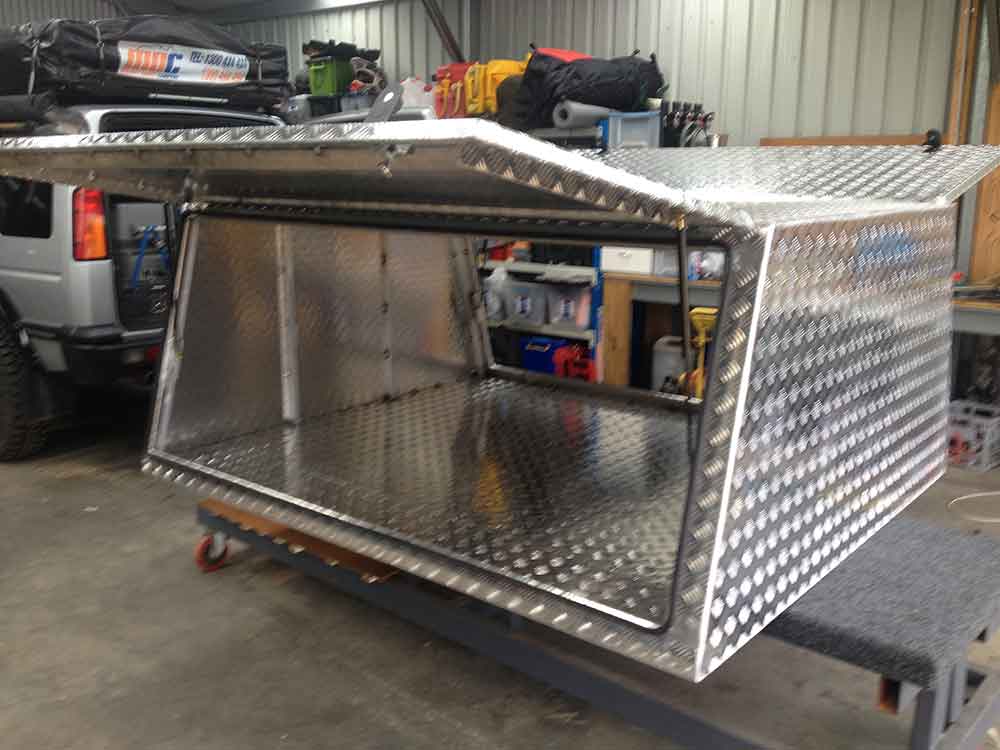
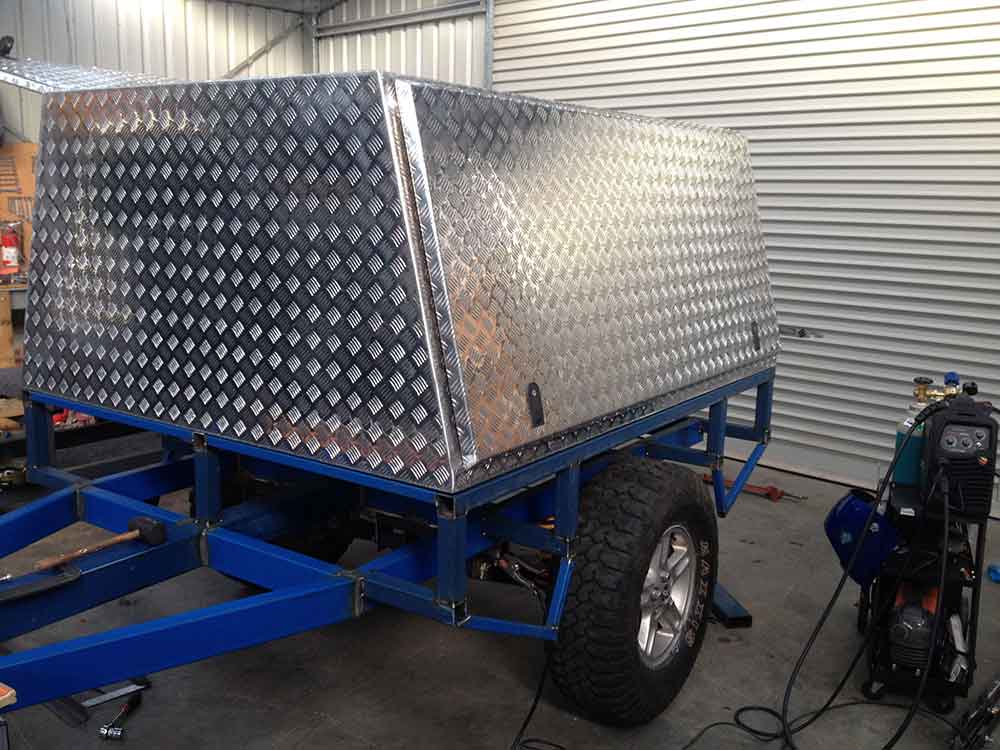
The concept is for a ute style canopy with rooftop tent on top which will later be upgraded to a hard top style roof top tent. It iwll have all that we need for camping/touring.
So we start off with the canopy.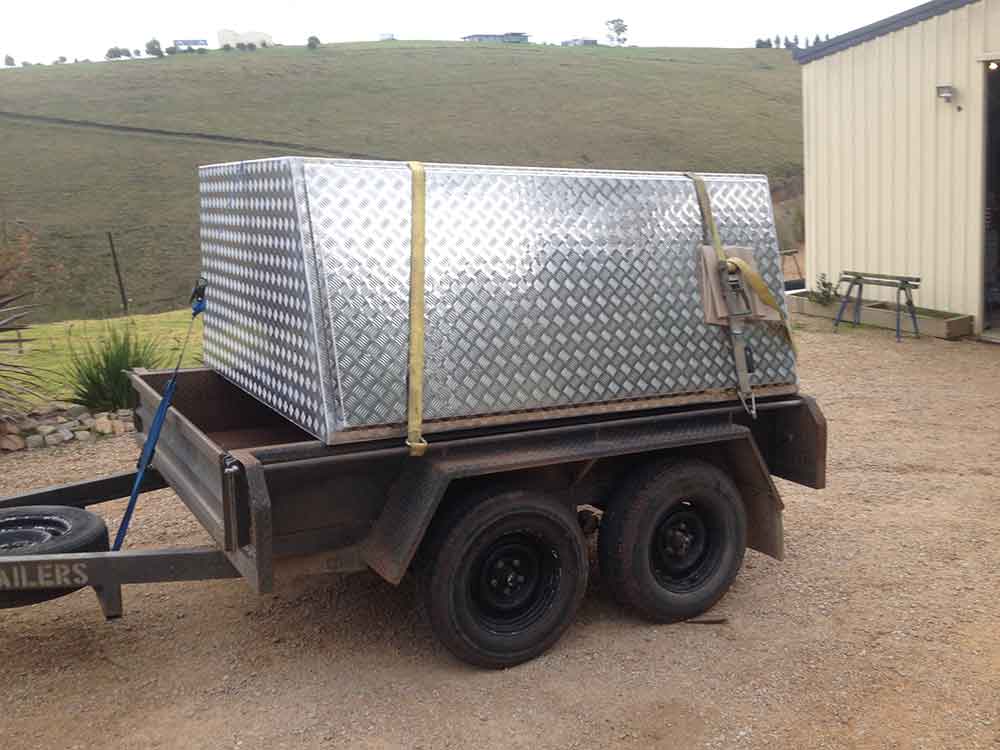
This canopy is made in Taralgon Vic and is very good quality. It cost $3000. It has a sub frame and internal frame which most of them do not have.
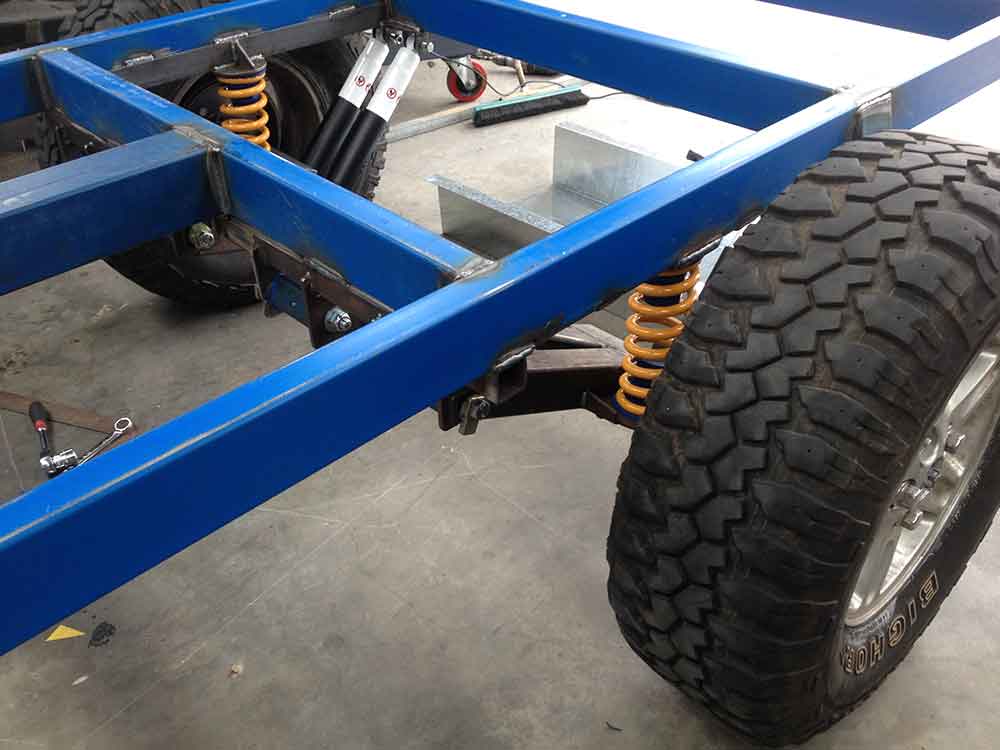
Next up I have to create/design the frame. This is quite difficult to traditional trailers that have typical solid axle suspension. This one will have fully independant suspension.
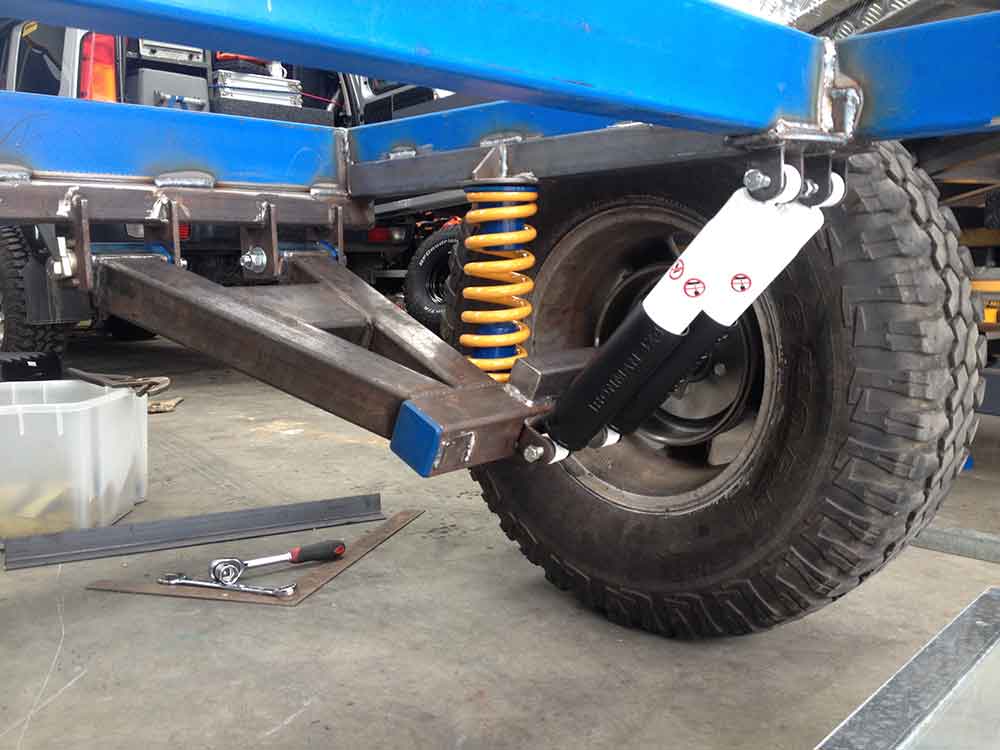
Working out where the suspension will mount. Have to make sure that the axle ends up about 3/4 from the front. Note the axle is offset heaps because I want to fit the original Land Rover rims with 33" tires. This way I have the same tires/wheels all around.

Laying it out on the floor and squaring it up.

Mokup to see how it will all fit together.
Tack it all and see how it looks. Again being square is the most important.
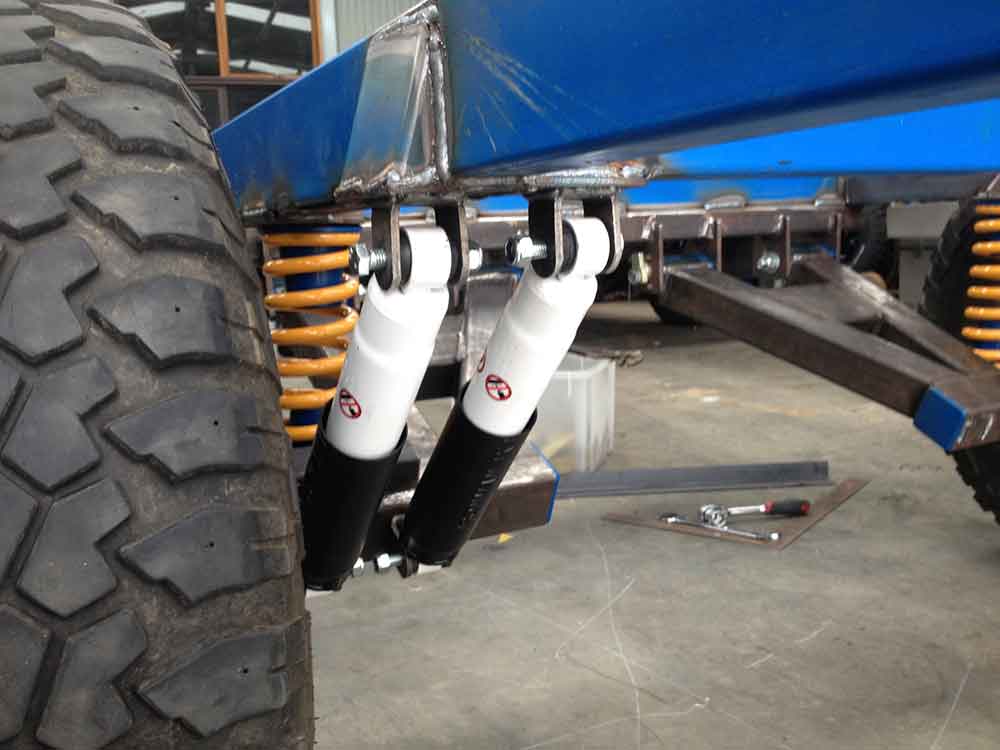
Creating the shock mounts.
Welding into place.
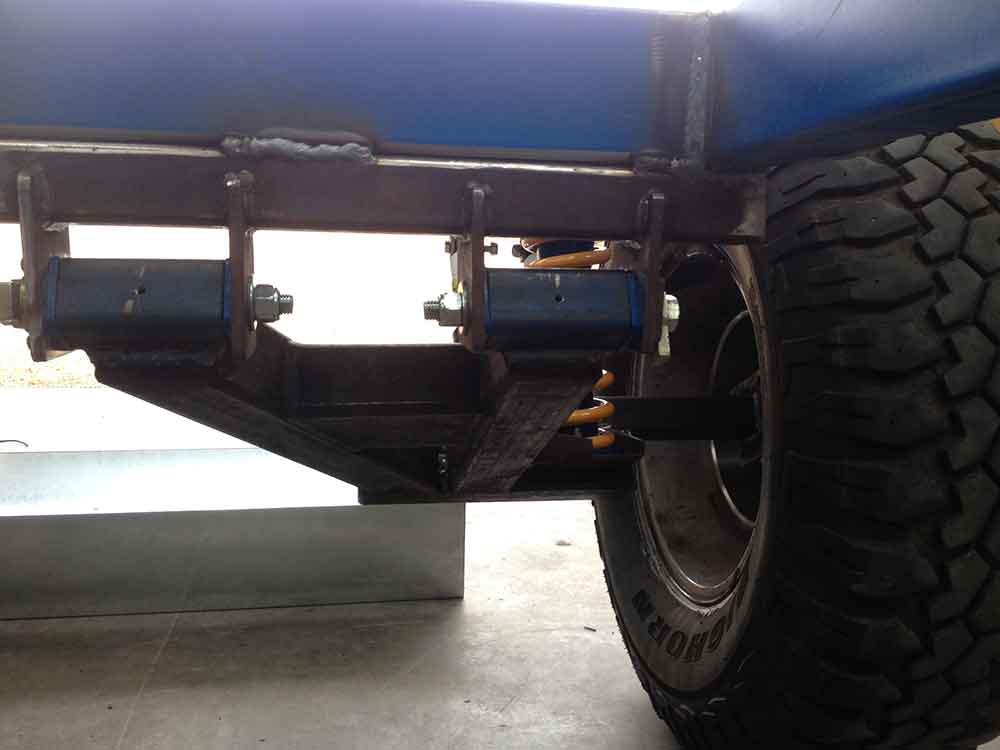
The suspension has Toe and Camber adjustment for final fine setting of the wheels.

Welded in the shock mounts. I went over the top here but I want to ensure that constant vibrations from corrigated roads do not crack or break off the shock mounts.
Note the main center draw bar goes all the way to the suspension mount point. This gives it ultimate strength and keeps it all in one line. (Normally they mount the draw bar under the frame.)
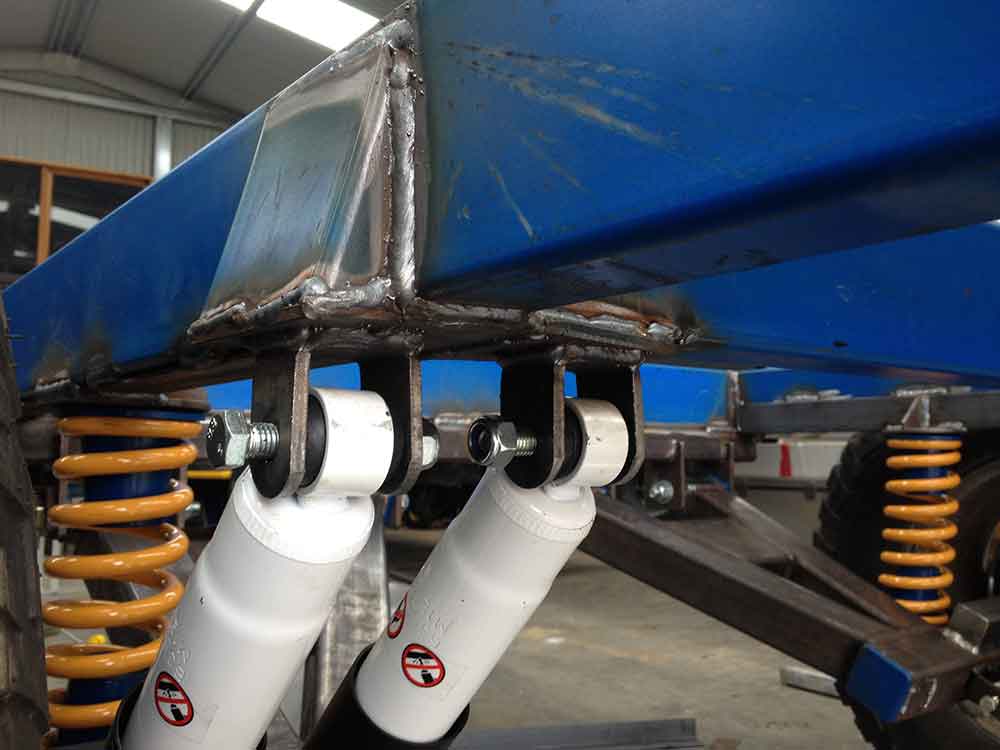
Another shot of the shock mounts.
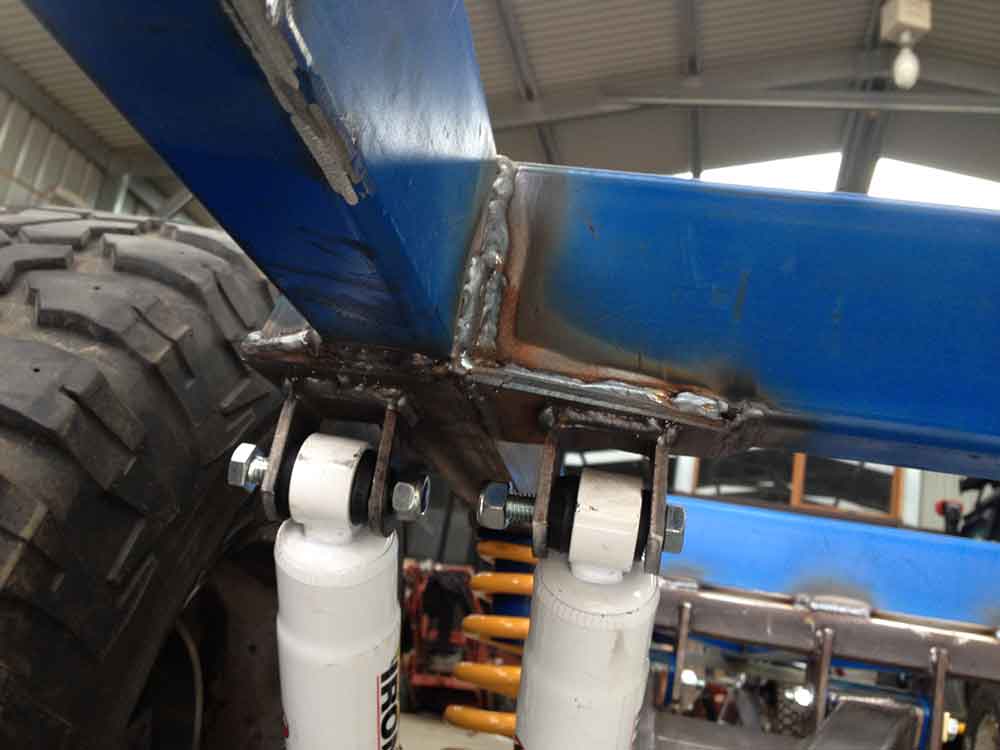
And another shot of the moutning
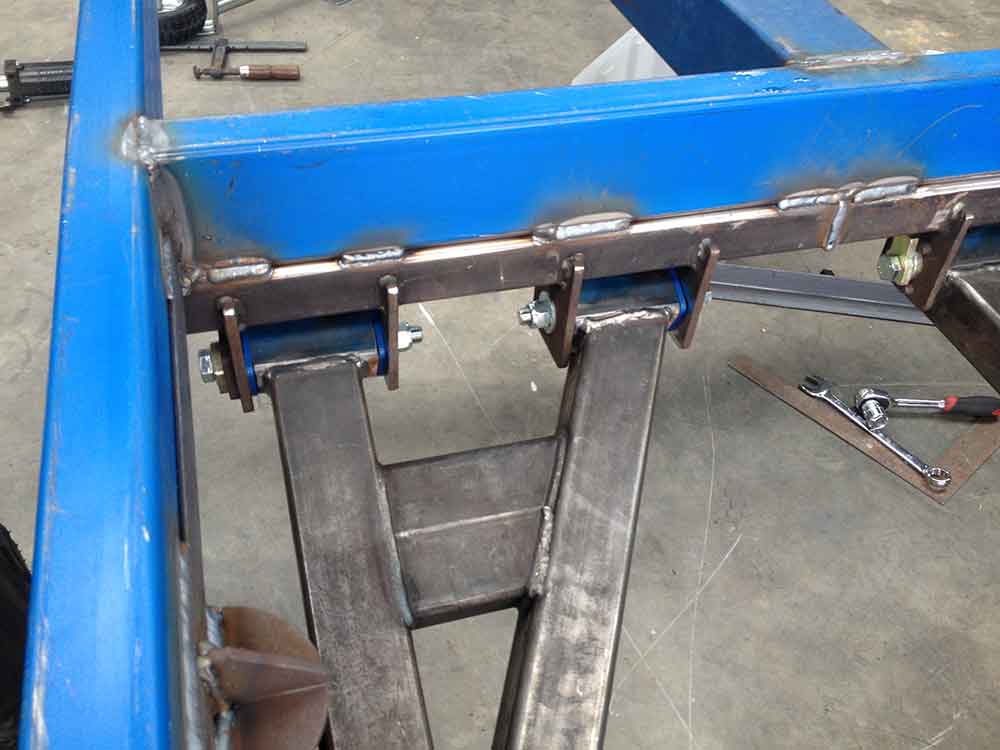
Spring retainer in place and extra strength angle iron put through to stop any bowing affect on top of the spring.
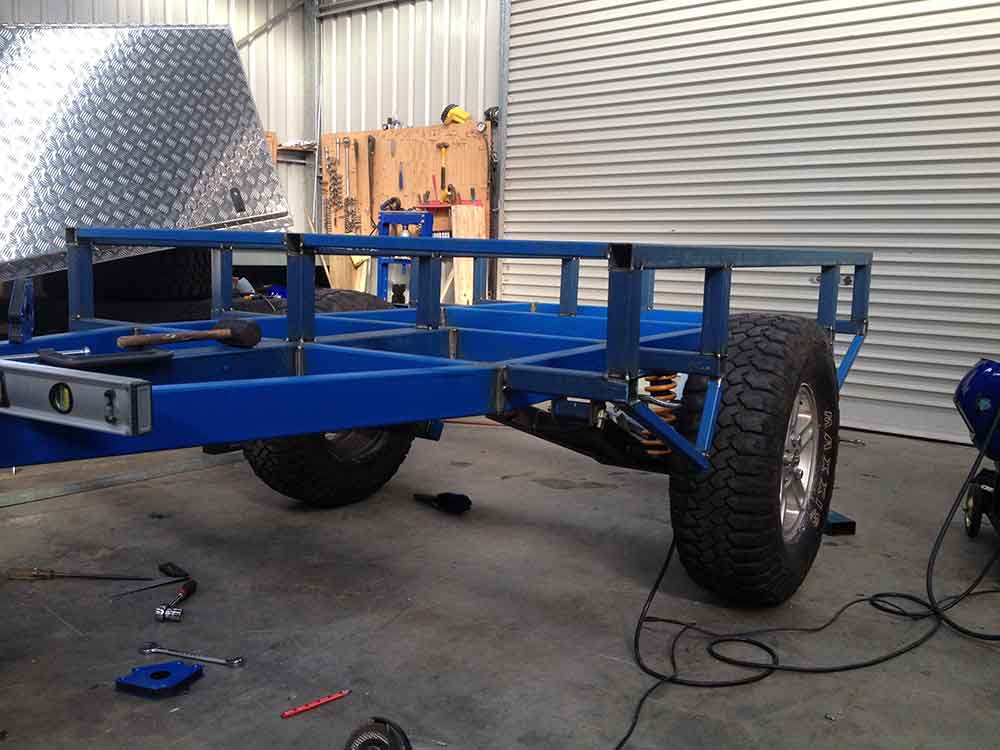
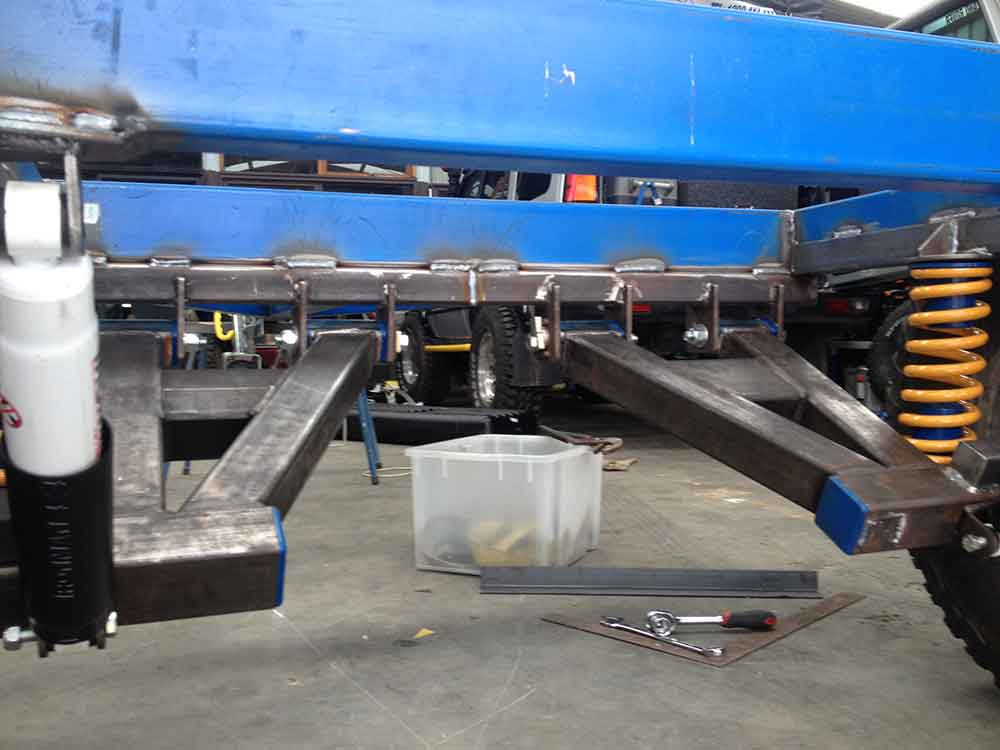
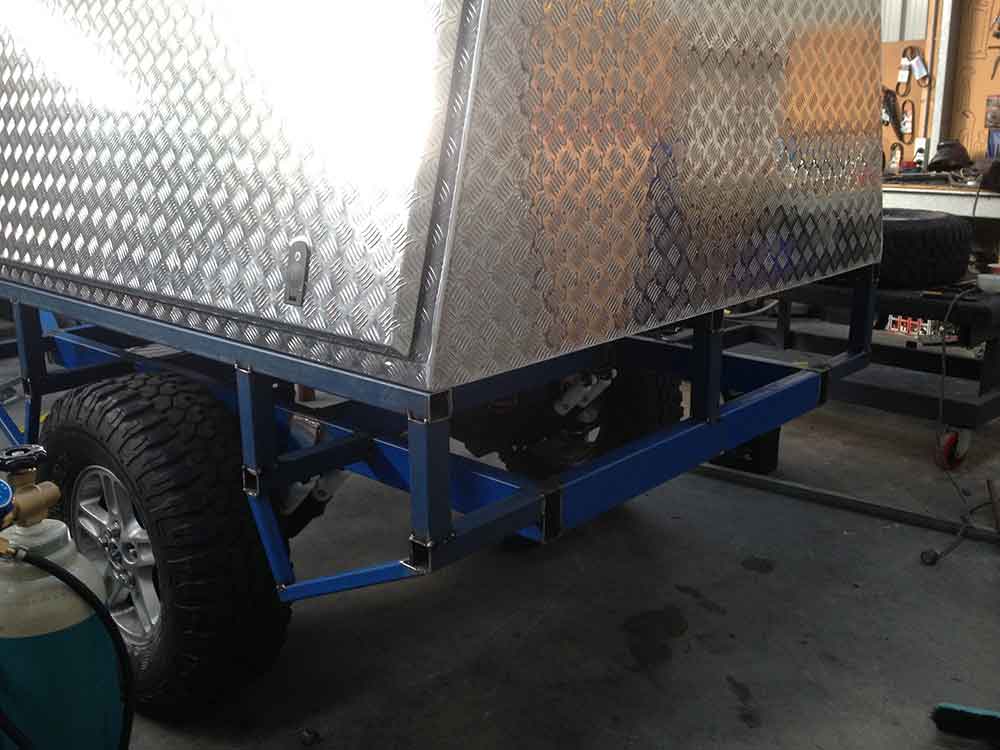
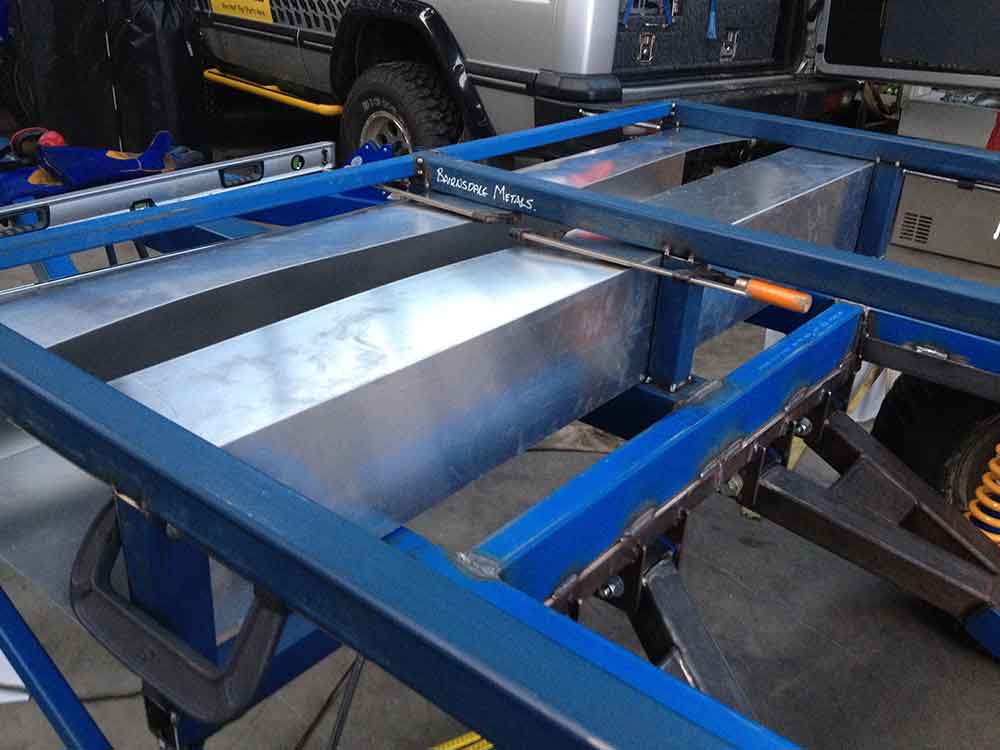
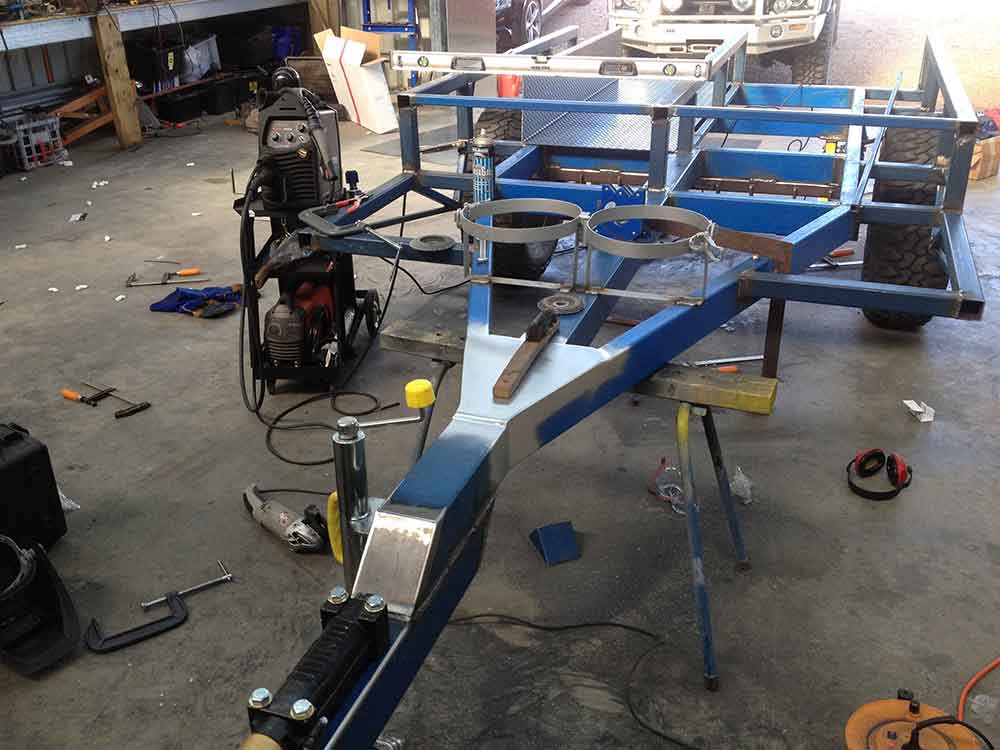
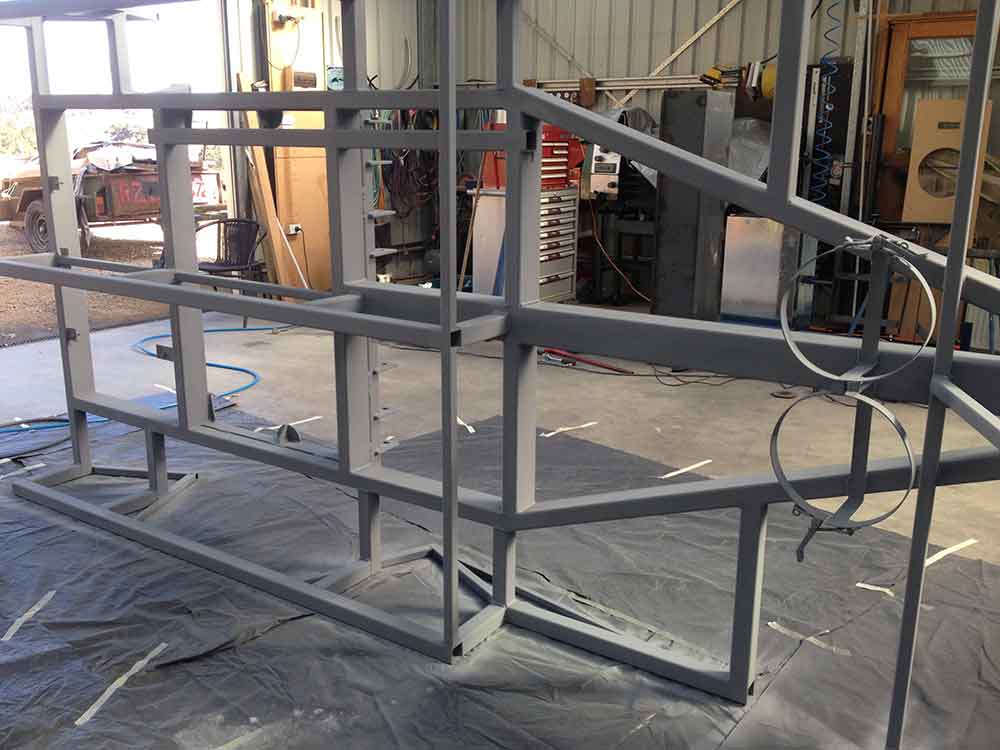
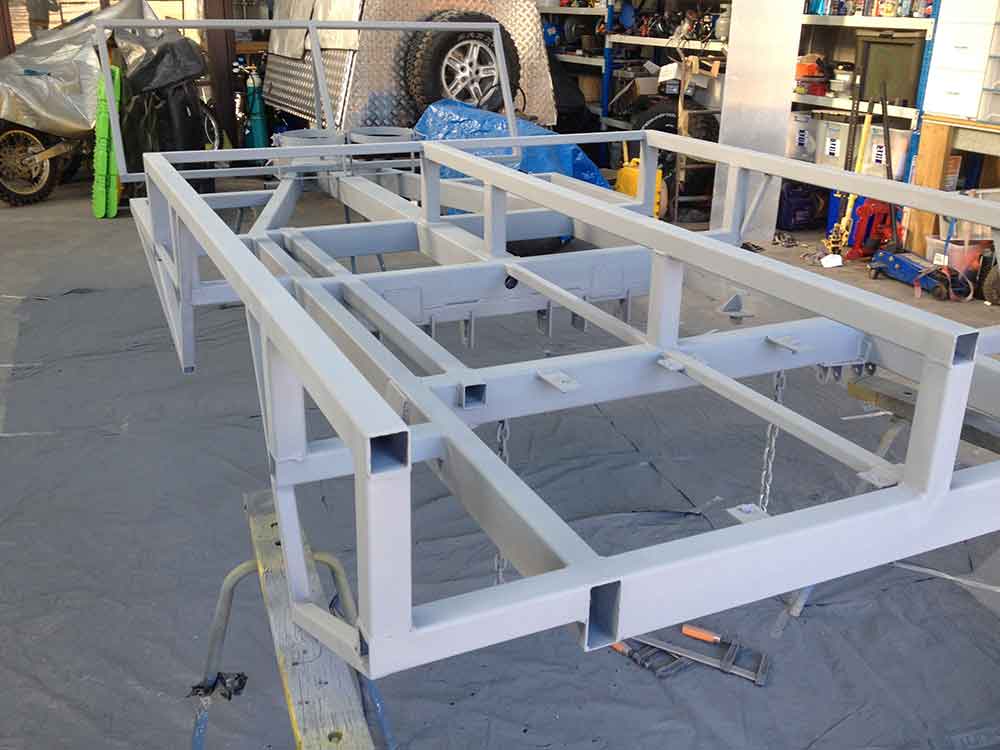
Tacking on the frame to support the canopy and the draws/storage underneath.
Filling in the guard areas.  Coming together slowly
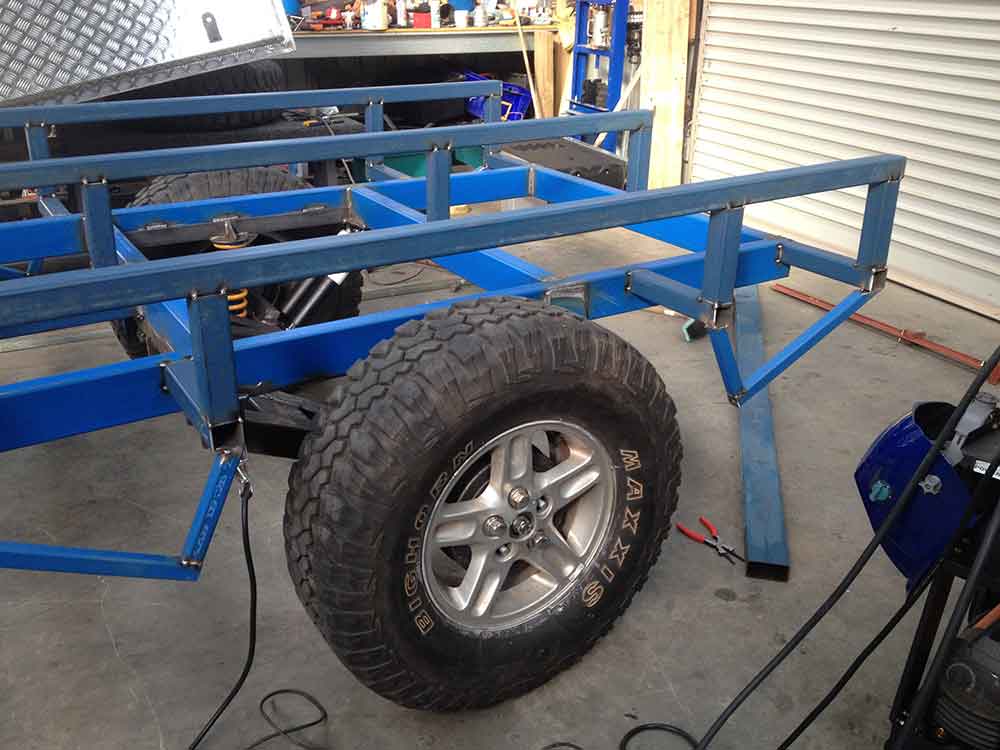
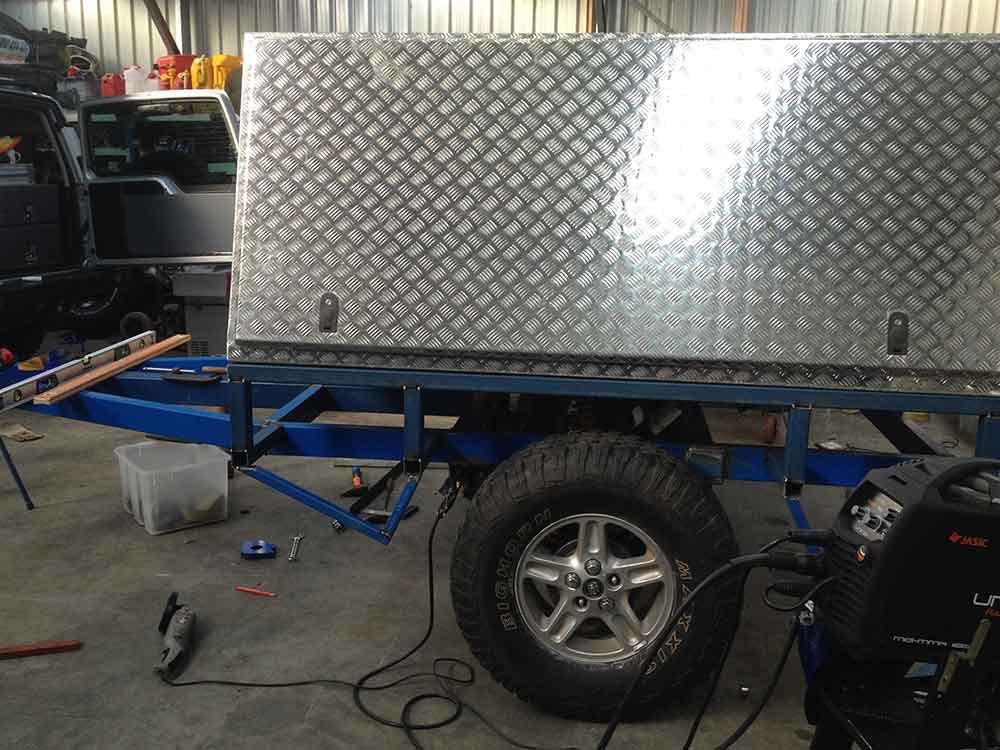
Test to see if the canopy fits. You can do a 1000 measurements but actually placing it on top is hte best test. Looks good so far.
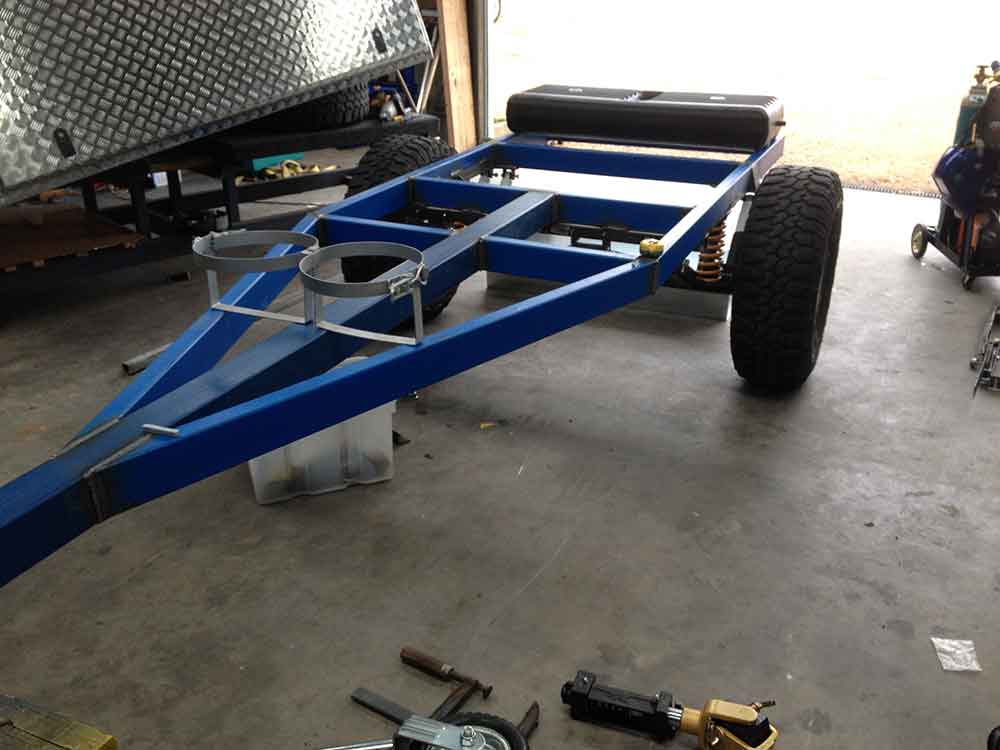
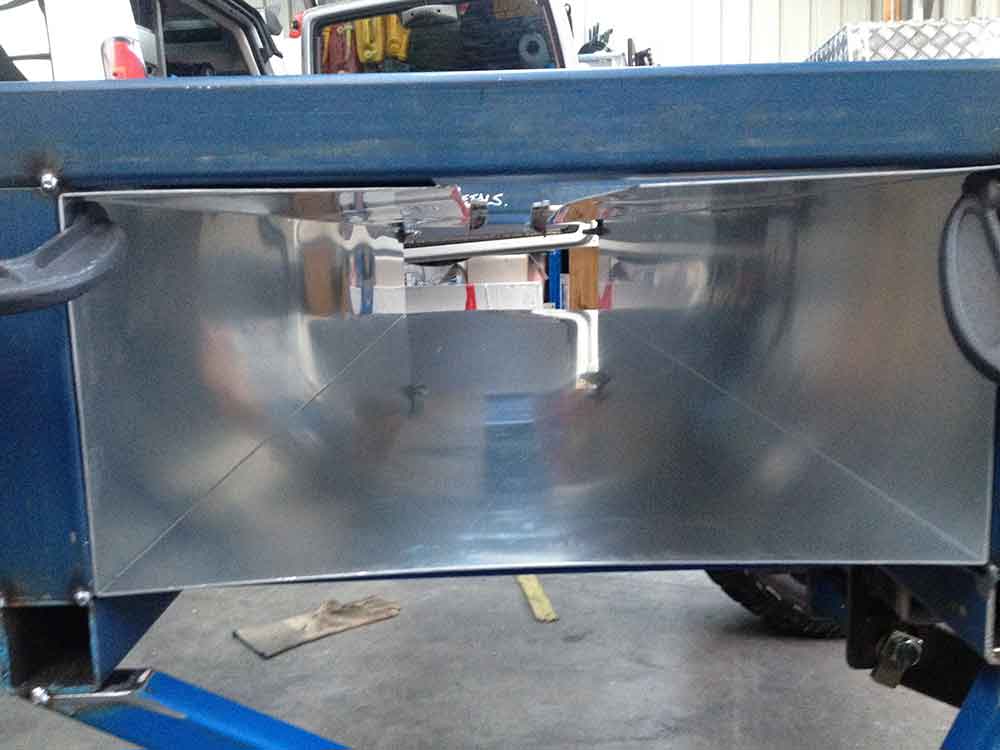
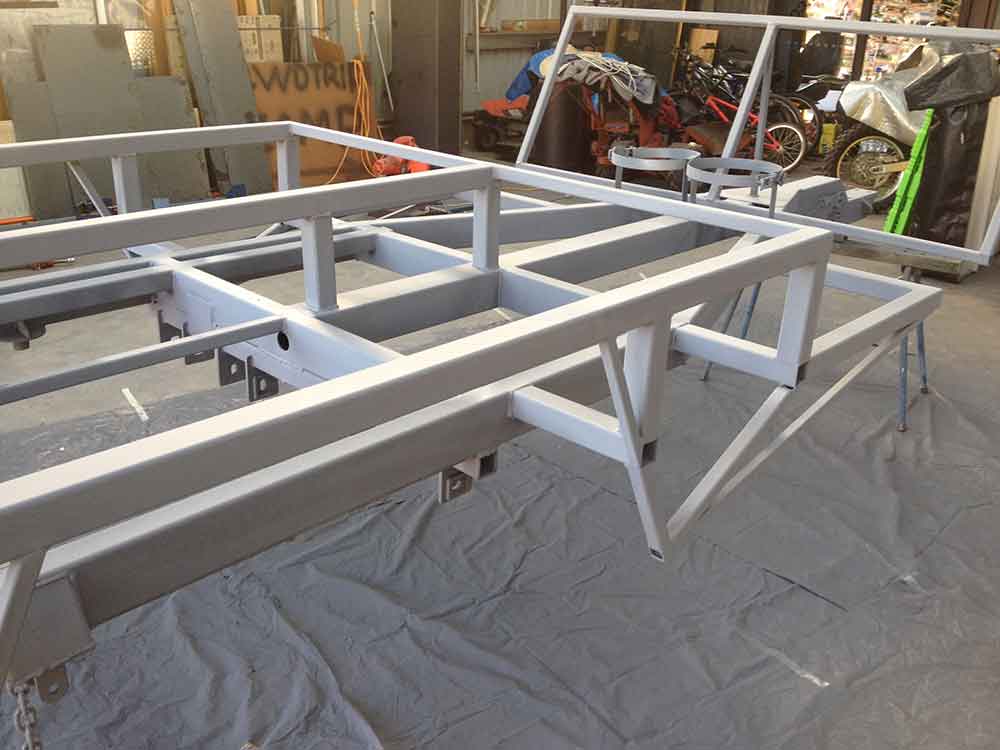
This is the box that will hold a slide out kitchen bench with a cooker and table top work area.
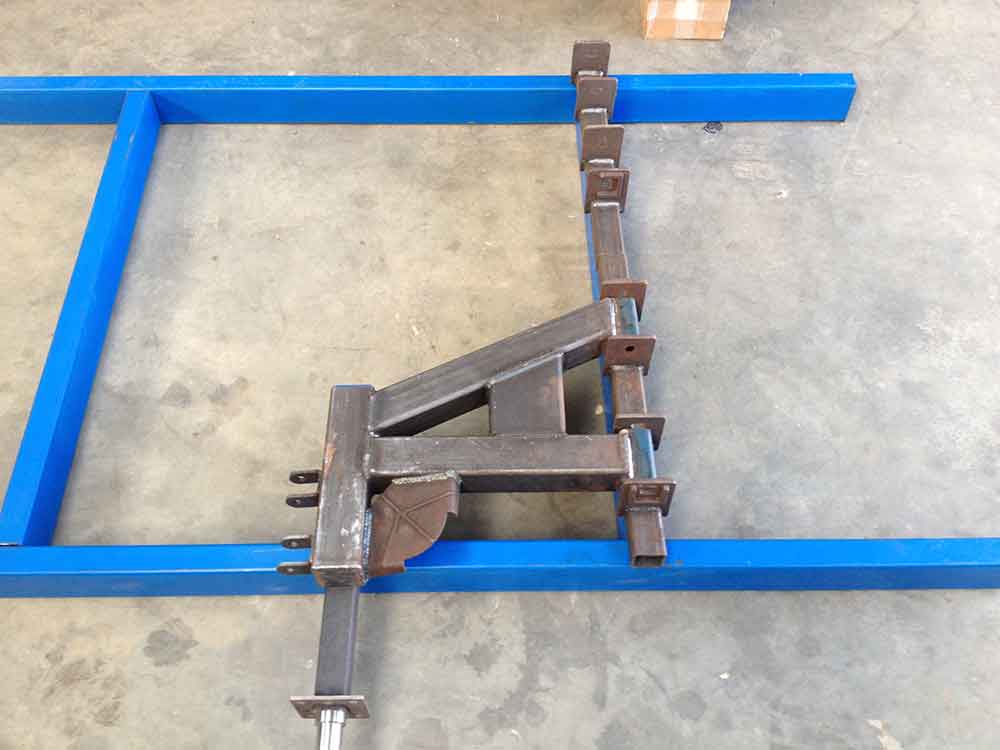
Started the design on the goose neck or hitch area. This ended up costing me lots of time. It was far more complicated than I first thought, The Discovery has a large back door so the trailer must NOT have anything in the way of the door. My last trailer I could not open the back door with the trailer connected. Here I am working out distances.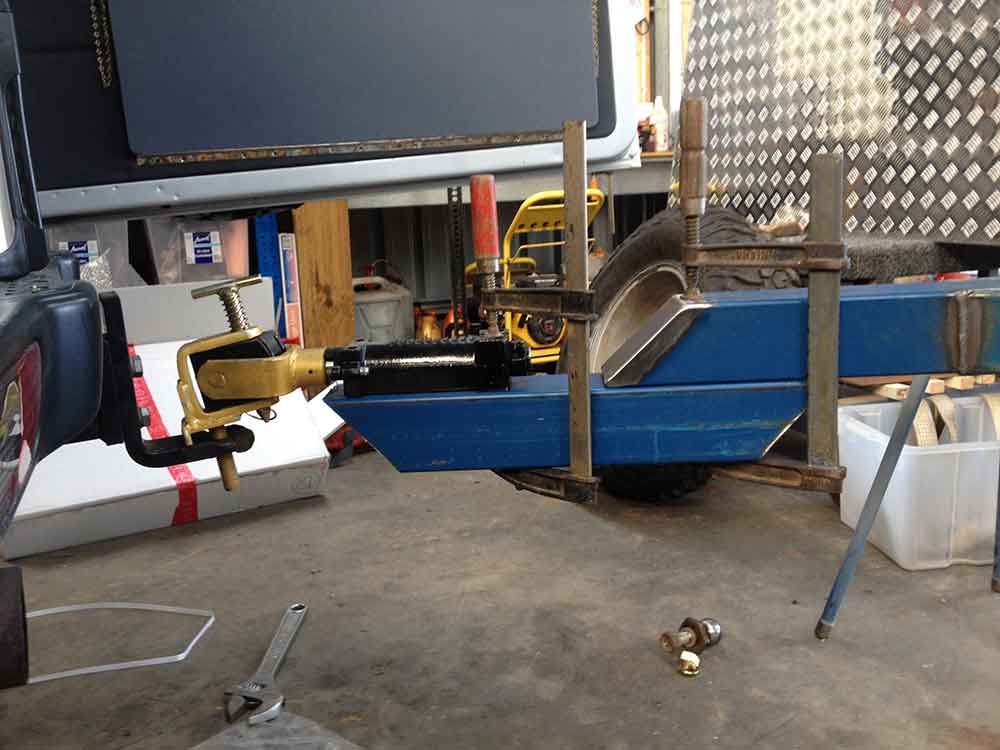
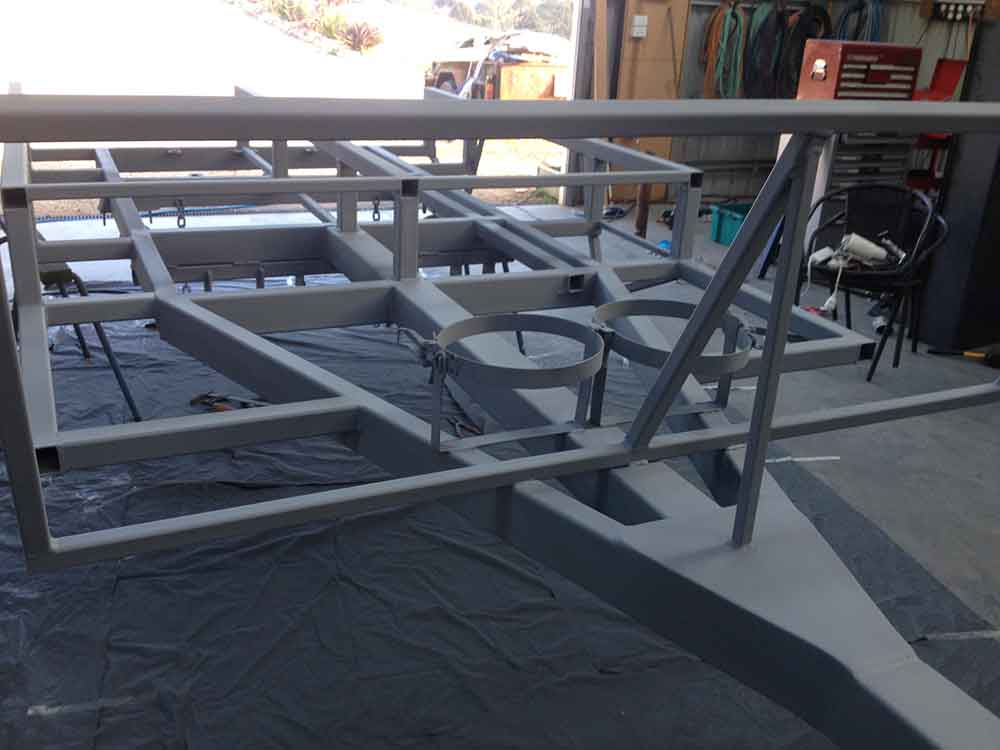
also have to get the height right. One of the issues with having 33" tires and the draw bar the same height all the way through is that I have to drop down at some point. So I have created this double 100x100 drop down section.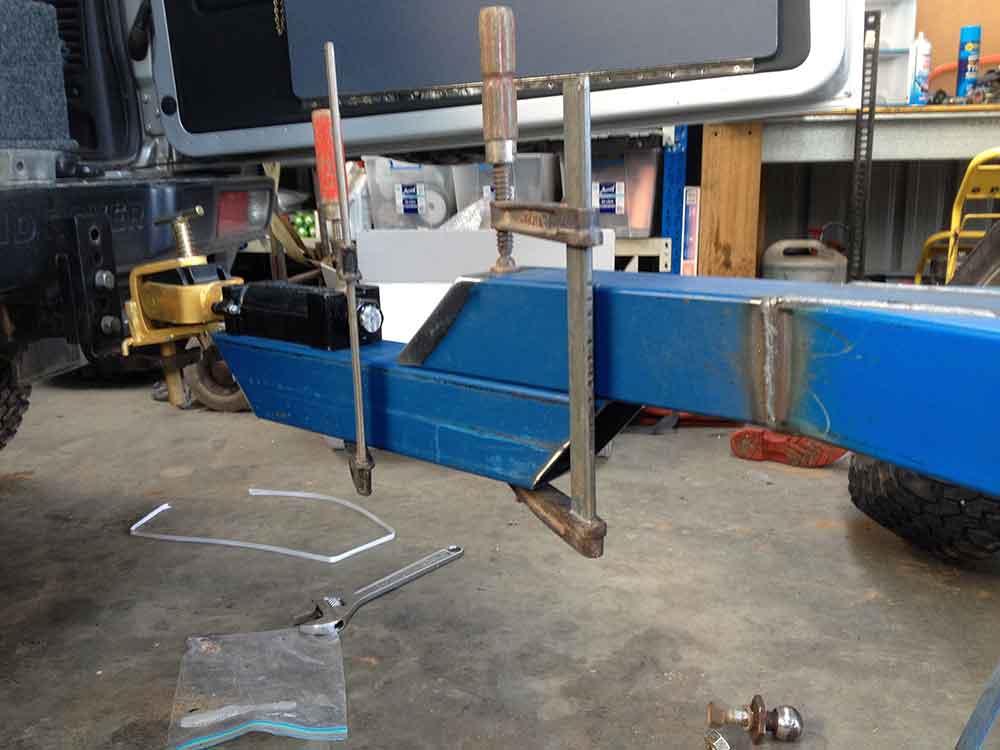
Working out where the jockey wheel will go. There is not much on the market that has such a long winder.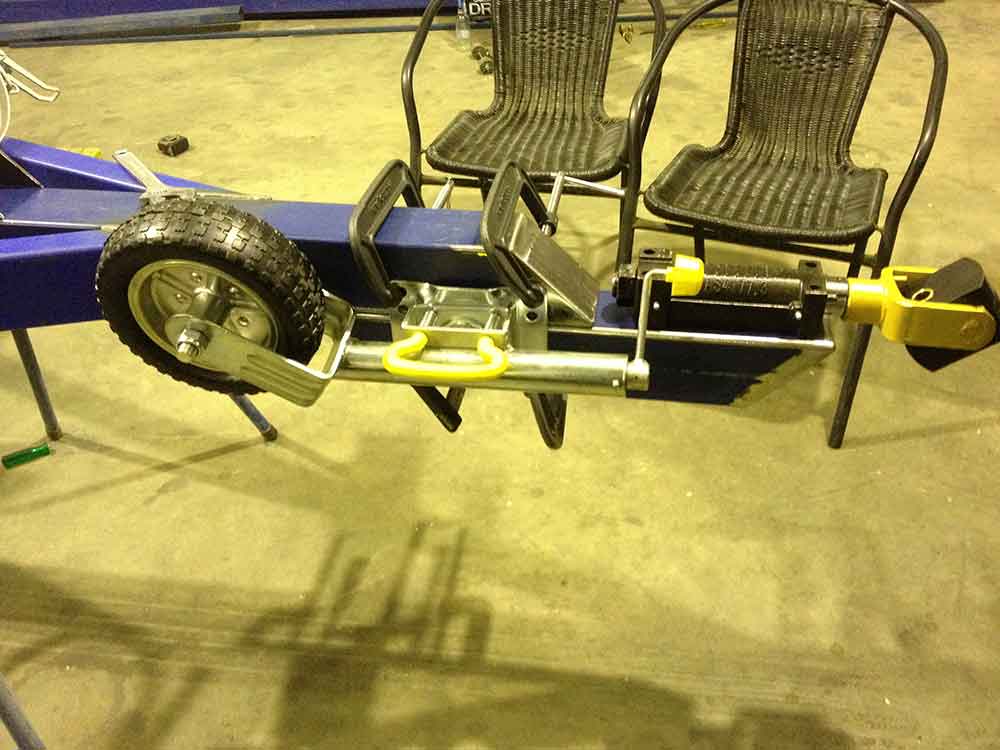
Incorporating the nuts fixed on the insideplus extra support with the 5mm plate. This makes it a 8mm area for the Tregg mount which also runs right back inside the 100x100 tube.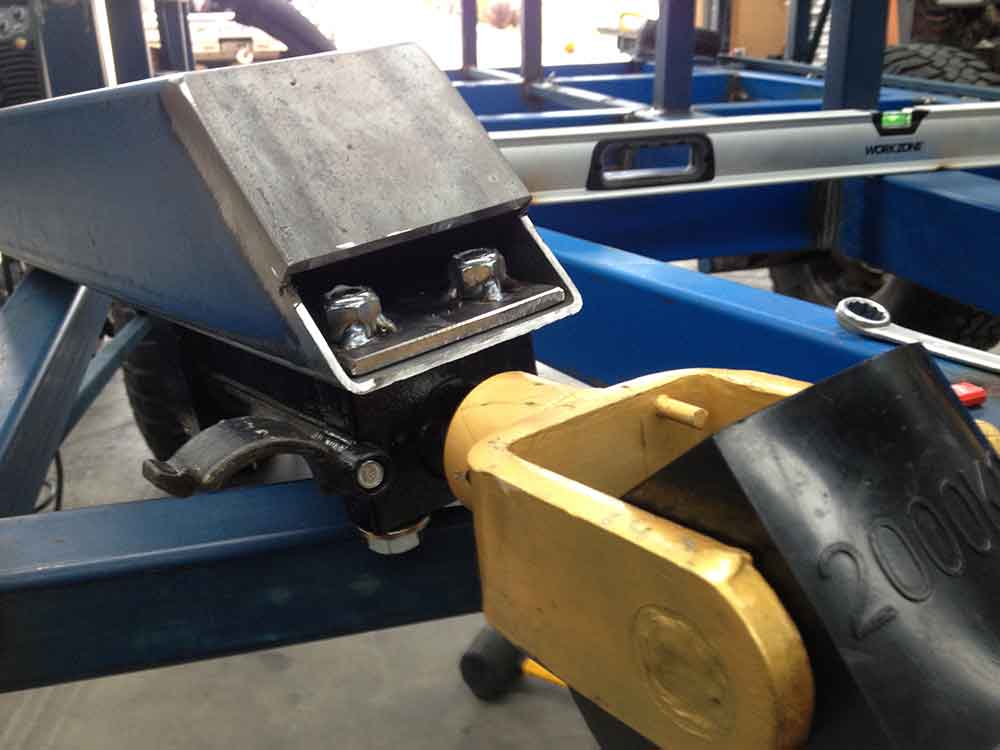
closer look before I close it all up.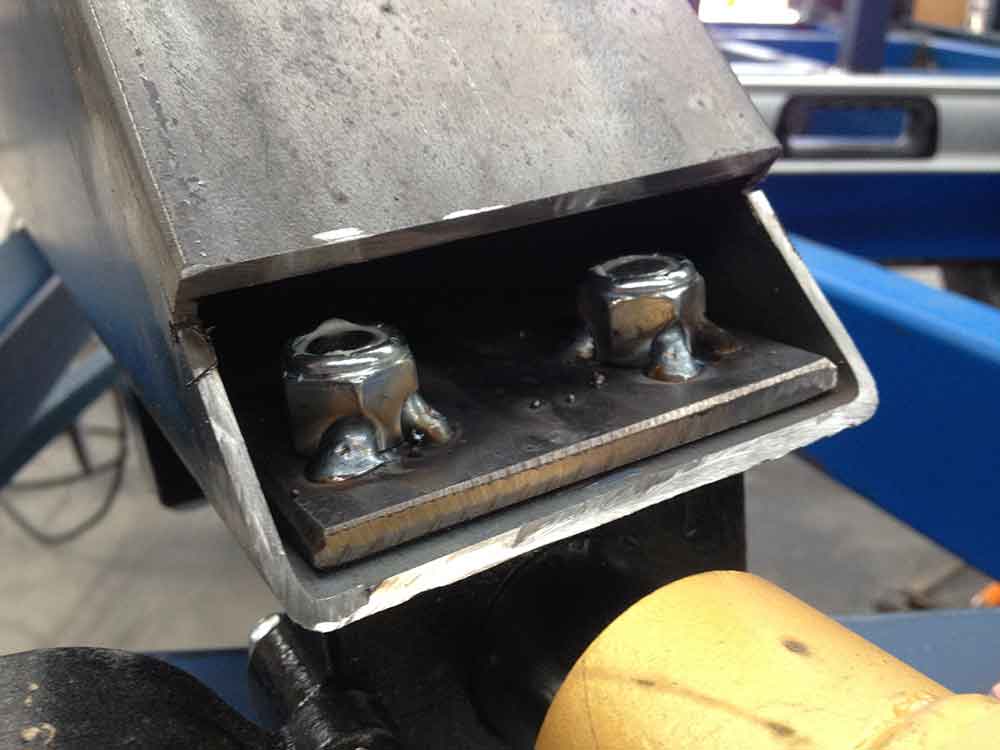
an see now how the captive nuts work.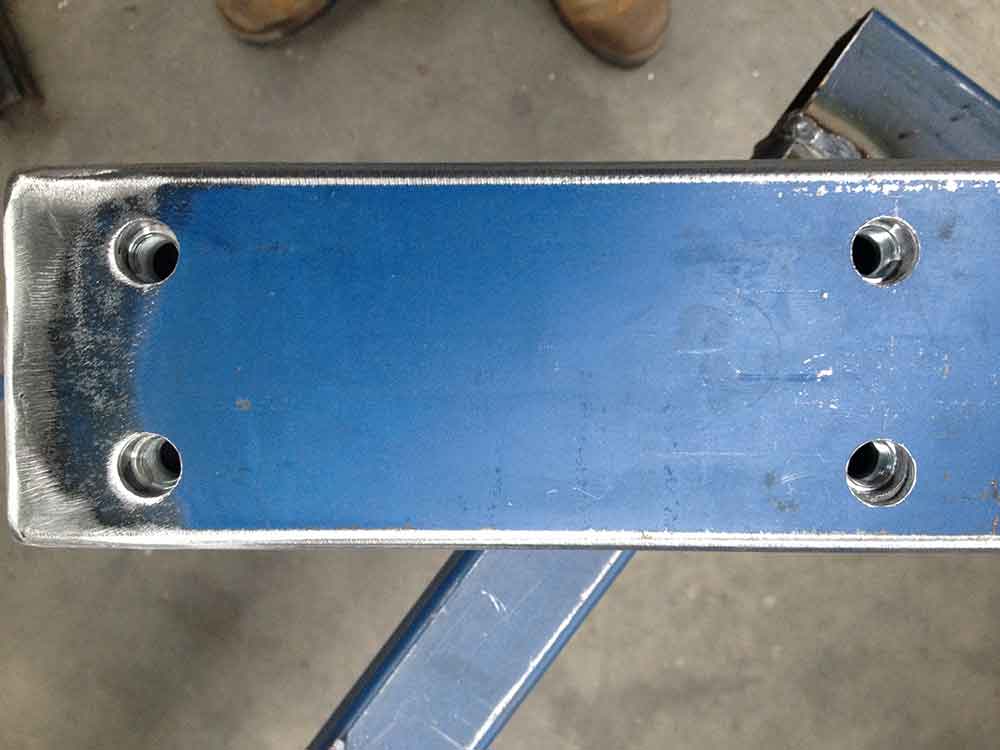
All welded back up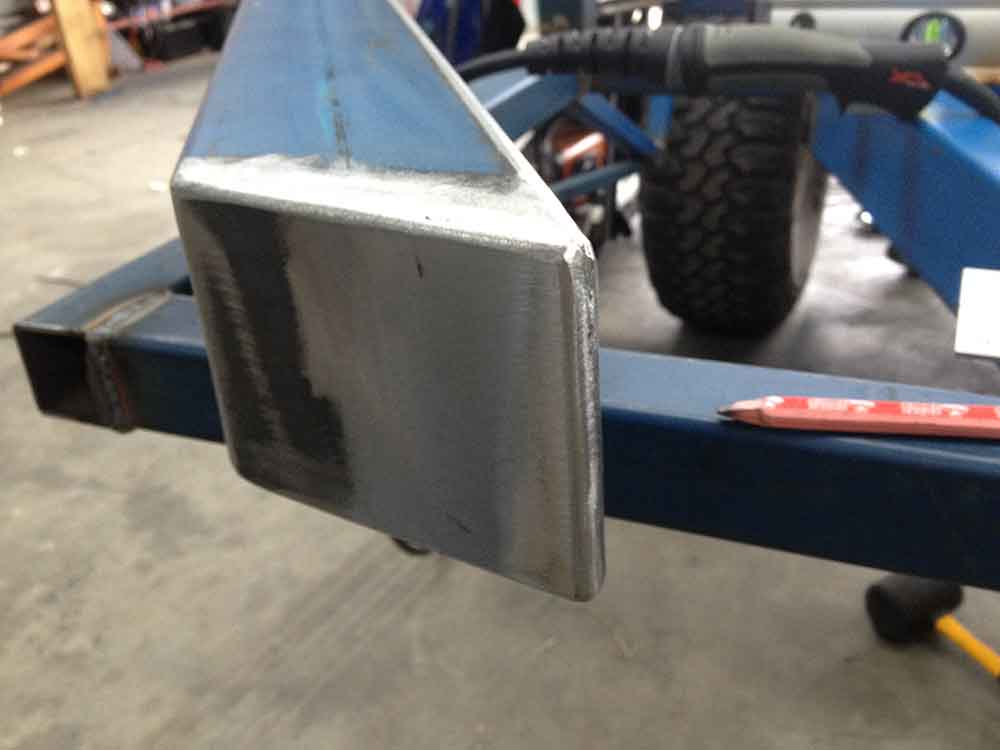
Welding on the jockey wheel bracket.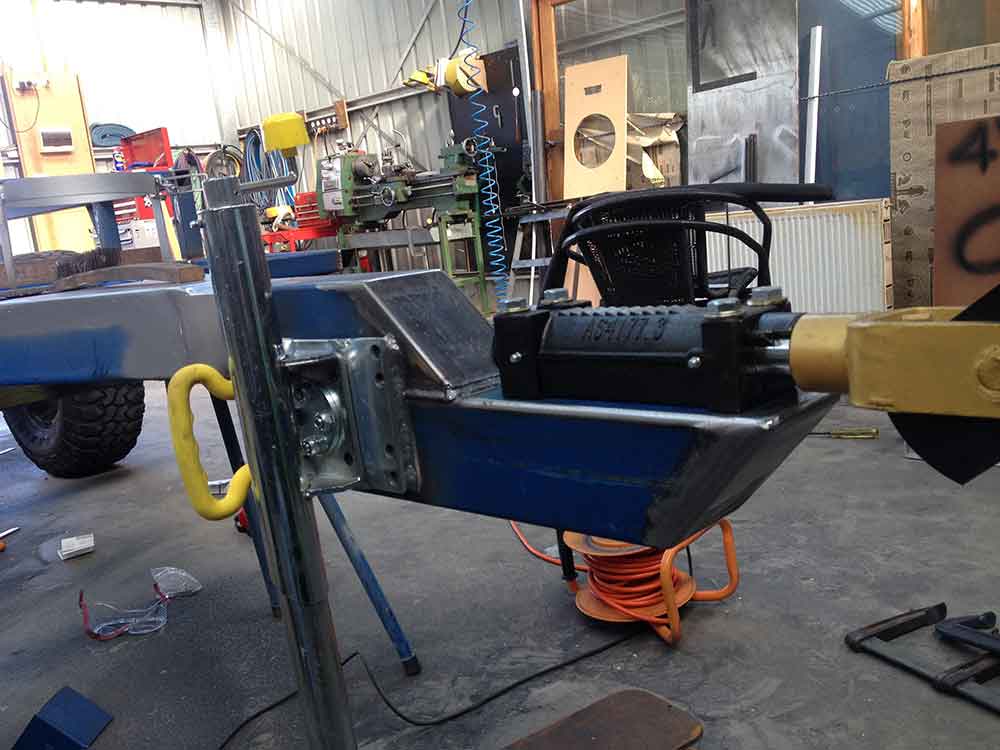
Test bolt on to see it all works.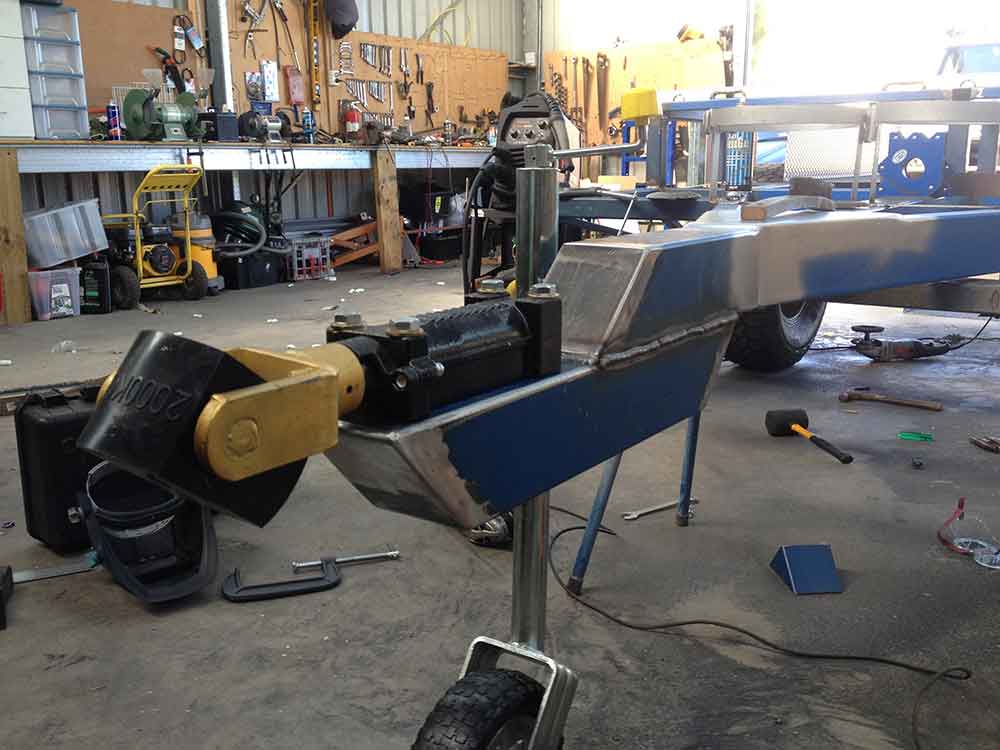
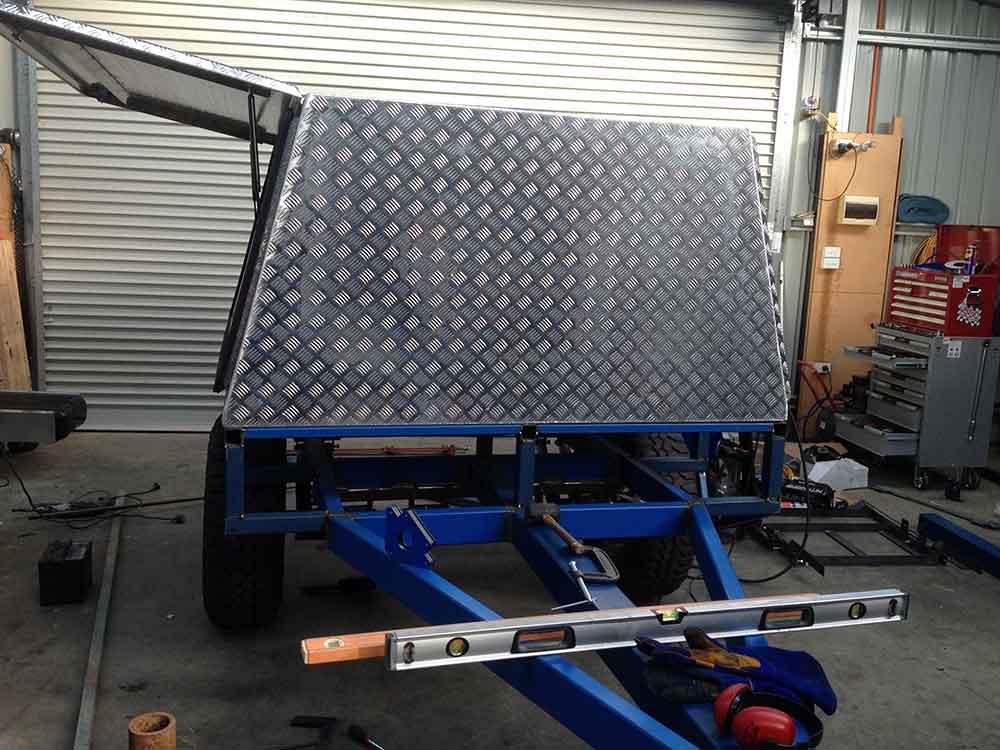
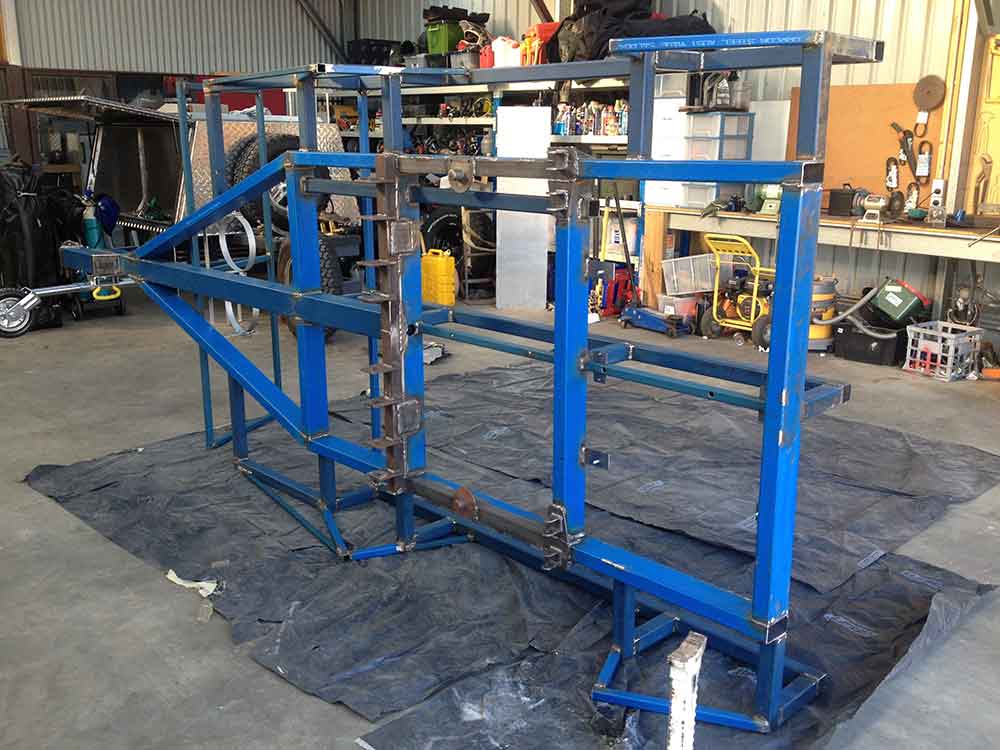
Final clean up of welds etc before paint.
Stripped down ready for paint.
I decided to use Cold Gal which is a Epoxy single pack zinc paint which is the closest I can get to Hot dip galvanizing. Much cheaper to.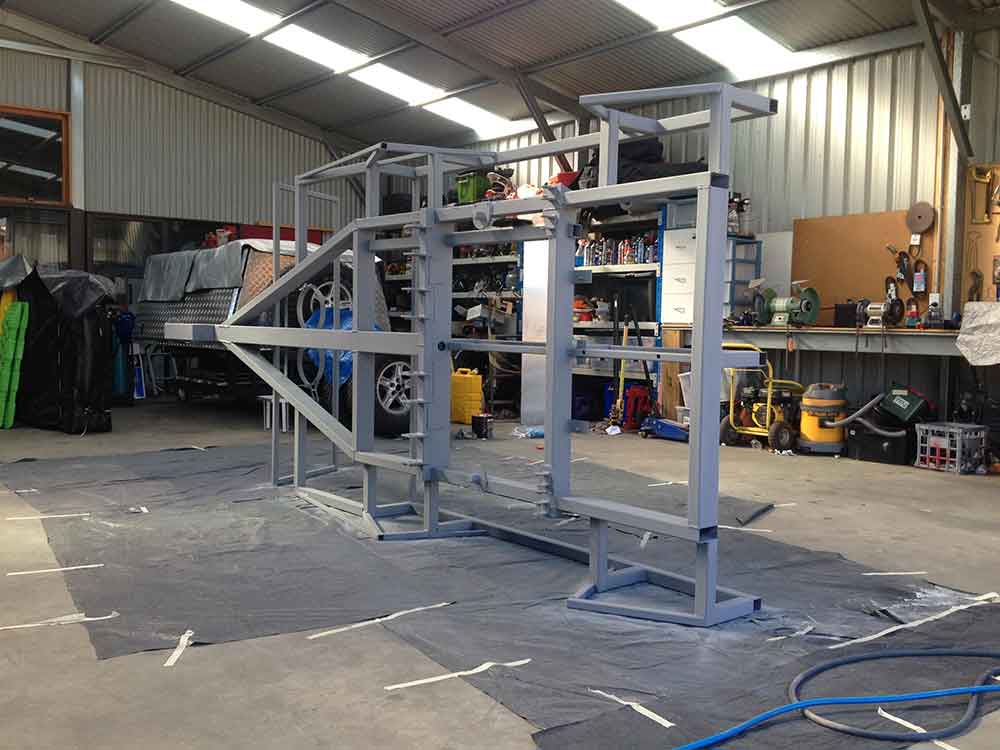
Closer look at the paint.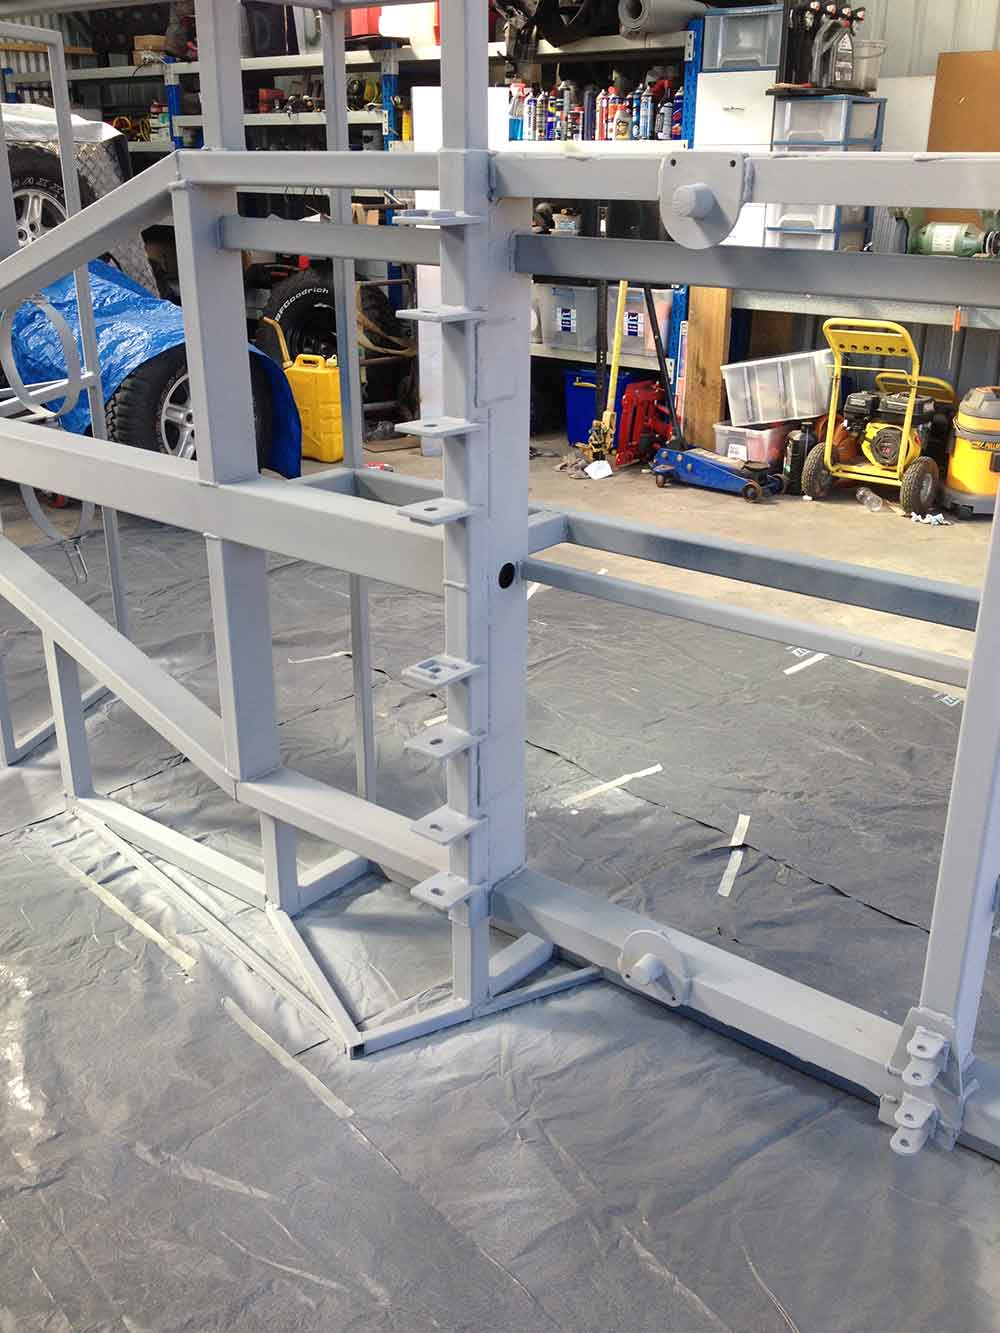
Few more coats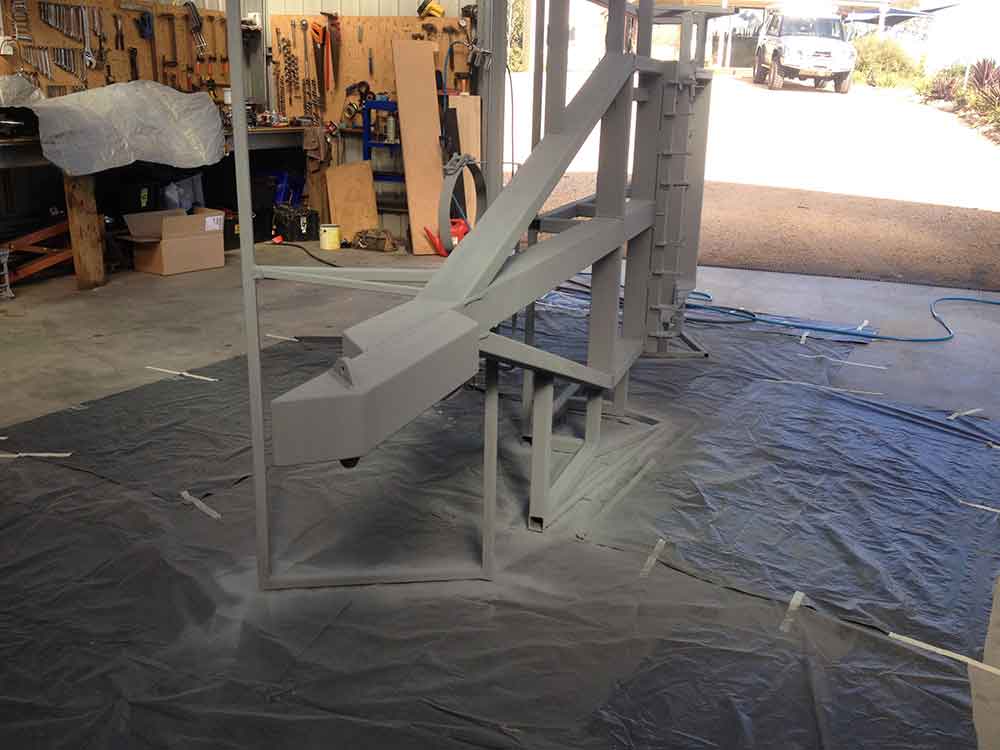
And more coats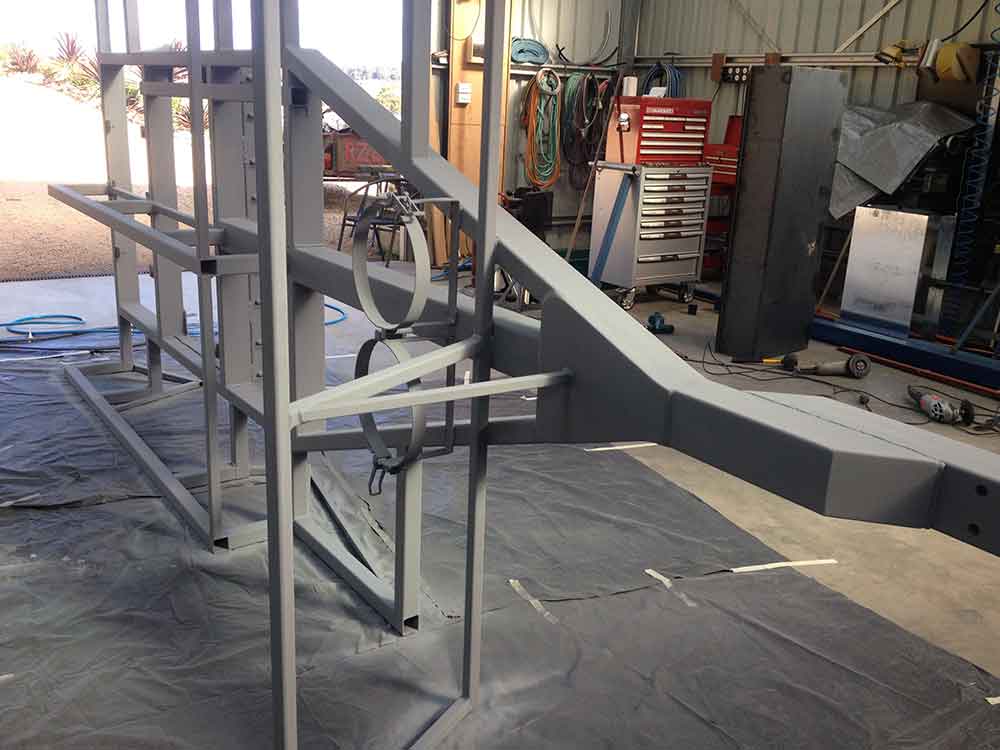
More coats on all angles.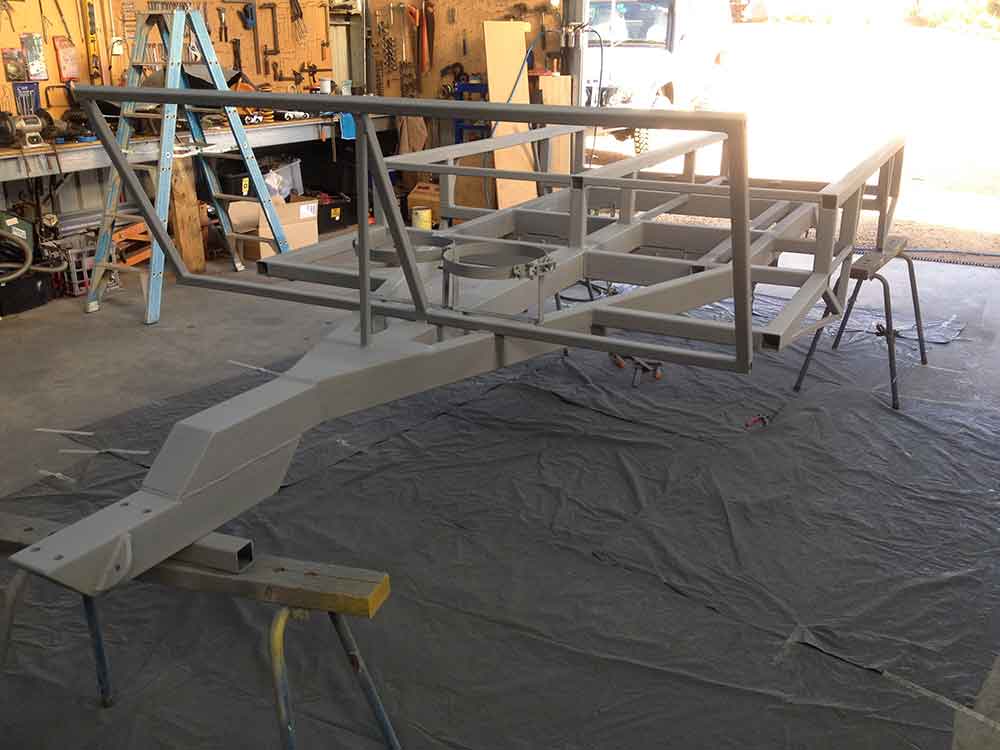
 The final coats. In total I used 3lt of paint so it ended up with maybe 10 coats all up.
Next is the top coat. For this I have chosen BlackTop by KBS which is a rock hard flexible top coat designed for machinery and any hard wearing areas like trailers.
Keep tuned for more as I get it done.